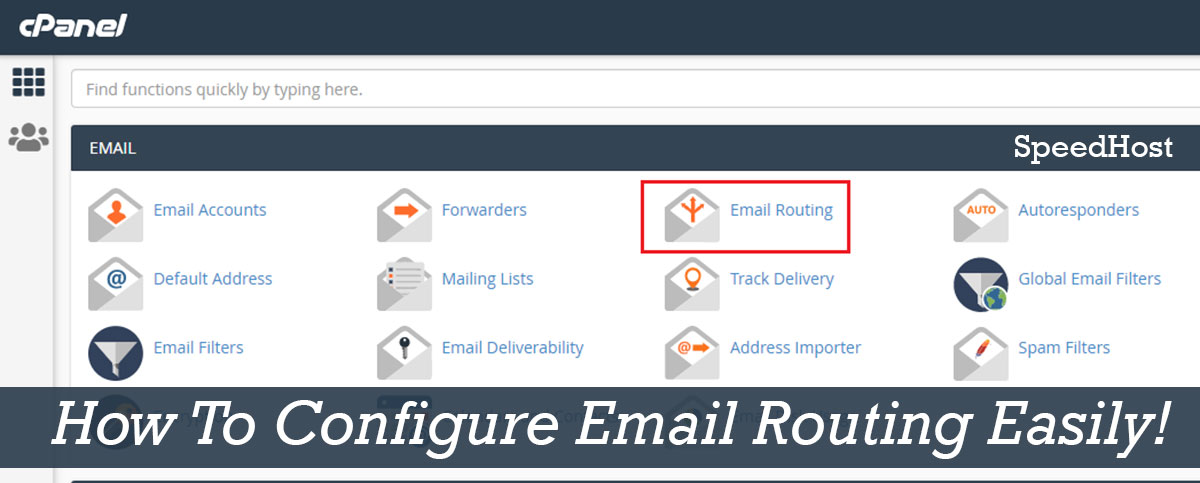
It is important to Configure Email Routing that means Mail Exchange Records to handle incoming email to your domain. In general, a mail server works following MX Records to route incoming email. To redirect the email accurately, it is necessary to point to your domain, rather than the IP address.
By default the email is pointed to the domain’s local server. To change it on any third-party email client or server, you need to modify it according to your need. Surely, you can add additional MX records and set priority to handle it as your choice. Need to remember that Mail Exchange (MX) records are the only type of entry in the Domain Name System (DNS). It tells the Internet server where to send email to and from your website domain name.
When you are using SpeedHost hosting, you can easily configure email routing from cPanel following the below method. If you use WordPress, the process is same, because I will show you the method using cPanel.
The complete tutorial will be for modifying MX records and Email Routing. Let’s start.
Configuring Email Routing
To configure email routing, we will do the below steps.
- Access the Zone Editor on cPanel
- Add your preferred MX Record here
- Changing or updating any existing MX Record
- Finally, configure email routing
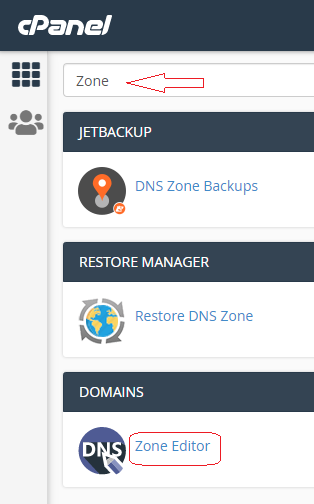
1. Access The Zone Editor first.
From cPanel, you have to access the Zone Editor. To do it, type Zone on the search option of cPanel. Or go to Domains section and you will zone editor here. Check the below screenshot.
- See Also: How to use Google SMTP server.
2. Now click on (+) Add Record and here you will find the option of adding MX record. (Add MX Record). If you do not get Add Record, click on Manage from the below section.

3. You you will find a form here to add MX Record. Give you domain name, and add Priority and Destination site or server. Then click on Add Record.

4. If you want to edit the MX Record, then click on Edit option as like the below screenshot. Following the option 3, add your desired name, priority and destination to change the record.

Email Routing
Now if you want to Email Routing, you can do it following the below steps. Let’s also learn enhancing cPanel security.
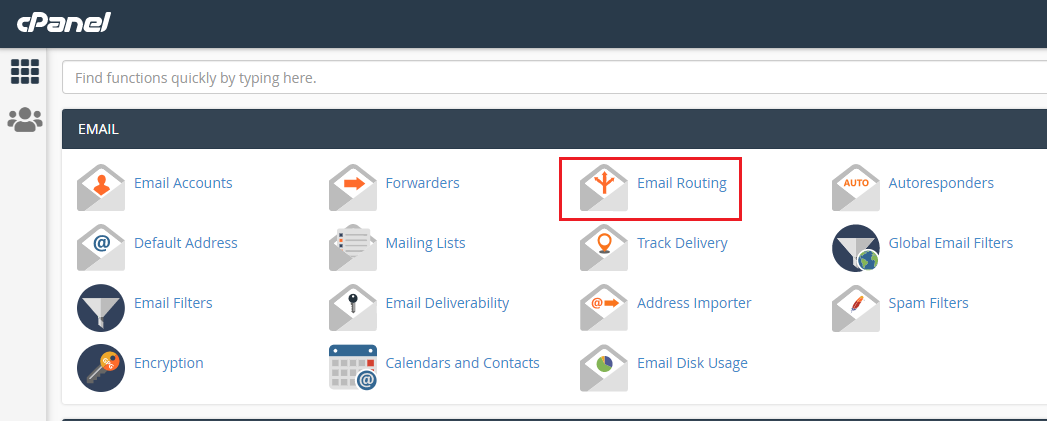
- First go to Email Routing option from cPanel.
- All the domains by default is set as local (Local Mail Exchanger).

- If you want to set the email with Third Party Server, you have to select Remote Mail Exchanger.
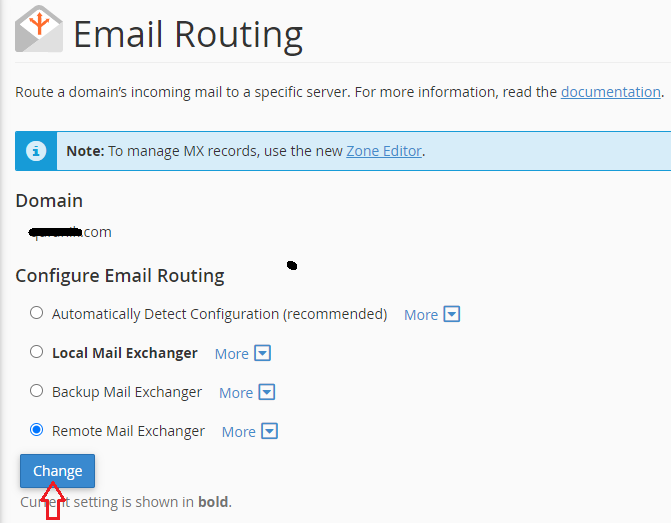
- Click On Change to update it.
Hope you will be able to do route the email following the above steps. If your hosting is cPanel based, you can easily do it accordingly.
- Read More: How to set up email server without any technical knowledge.
Conclusion
Configuring email routing is essential when comes forwarding email. It is simple, but sometimes it creates issues. On the other hand, there are many guideline that talks unnecessary point. For this reason, I have tried to show the steps with screenshot. You should not have any problem. If you need further help, you may make comment or ask the support team of SpeedHost. We are ready to support you in any issues on hosting guide.